Easy DIY Entryway with Decor Ledge
Revamping the entryway to your home is a really easy way to add some DIY touches to make it look upscale and welcoming. There are tons of ways to do this, but I am sharing how I recently helped my bestie DIY her entryway. I’ll cover the step by steps, but if you want to see more, check my Tiktok and Instagram for more ideas and DIY tips.


Tools Needed:
Saw (we used THIS miter saw but you can also use a circular saw) Both of these are great, budget-friendly options.
Tape Measure
Brad Nailer - this is the exact one we used
Level (If you want to get fancy and do a lot of DIY’s, invest in the Intice Laser Level, I have one and it’s absolutely amazing)
Sand Paper
Pencil
Supplies Needed:
Lumber (we used 1x1’s on the very bottom, 1x4’s for the vertical slats, a 1x4 for the top horizontal slat, and a 1x2 for the ledge)
Brad Nails - I like this variety pack to keep on hand, but get the correct length to go through your wood and into the wall about 1/3 of the way
Liquid Nails (or a similar product, found at your hardware store)
Caulk
Spackle
Paint (we used Bay Water by Behr in eggshell)
Paint brush and roller
Painters Tape
Step 1: Measure your space
Make sure you measure your space before you get started. Decide how many vertical slats you want and how tall you want the ledge to sit. Keep in mind to space your verticals around any outlets, making sure they will be equal distance apart. Make a cut list to take to your local hardware store.


Step 2:
Add a border at the bottom, above the trim. This step is completely optional, but we did this to give the verticals a smooth place to sit. We also knew we didn’t want to paint the trim, so it gave us a nice separation. We used 1x1’s we found at Home Depot. They were only 4 ft long, so we bout 3 and pieced them together. Make sure to sand the ends for a cleaner finish. We attached the 1x1’s to the wall with a strip of liquid nails (glue) and brad nails.
Step 3:
Measure and cut your verticals. Because we used 1x1’s on the bottom, the 1x4’s butted up nicely to the bottom. Be precise in your cuts making sure each slat is exactly the same height, so when you go to add your ledge, it sits flush. Use liquid nails and brad nails to attach the vertical slats. Make sure you’re plumb (level) ;using your hand leveler or laser level and spaced evenly. We started in the middle and worked our way out to the sides since we have 5 vertical slats total.


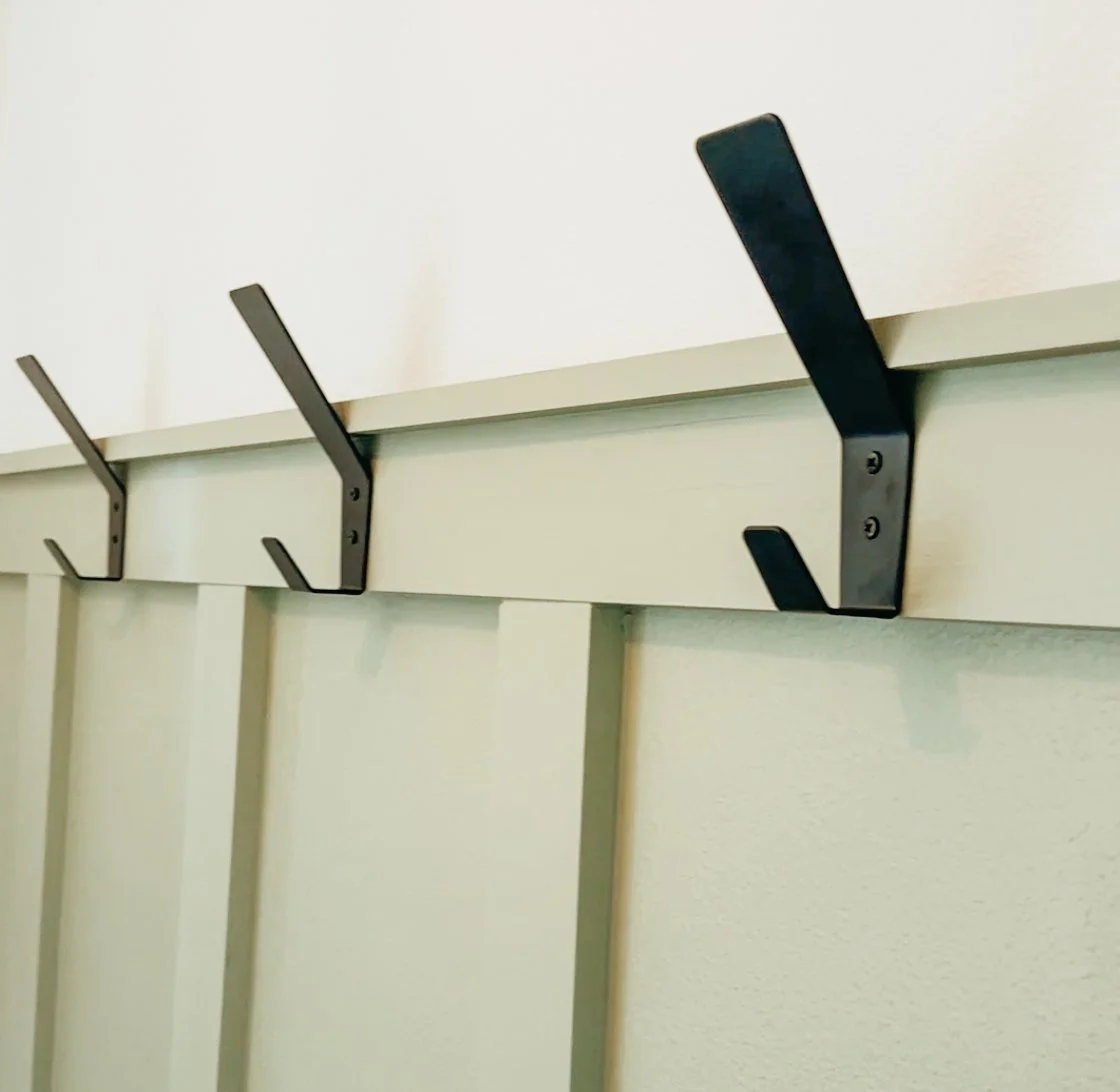
Step 4:
Measure and cut your horizontal top piece. Attach the same way you did before. Measure and cut your ledge. For this piece, we used liquid nails on the wall side and on the top of the horizontal piece, and then used the nail gun to attach it to the horizontal 1x4. So the nails didn’t go into the wall for this step.


Step 5:
Caulk all of your seams and spackle your nail holes. Once that dries, lightly sand the spackle smooth. Dust off your space and you are ready to paint.


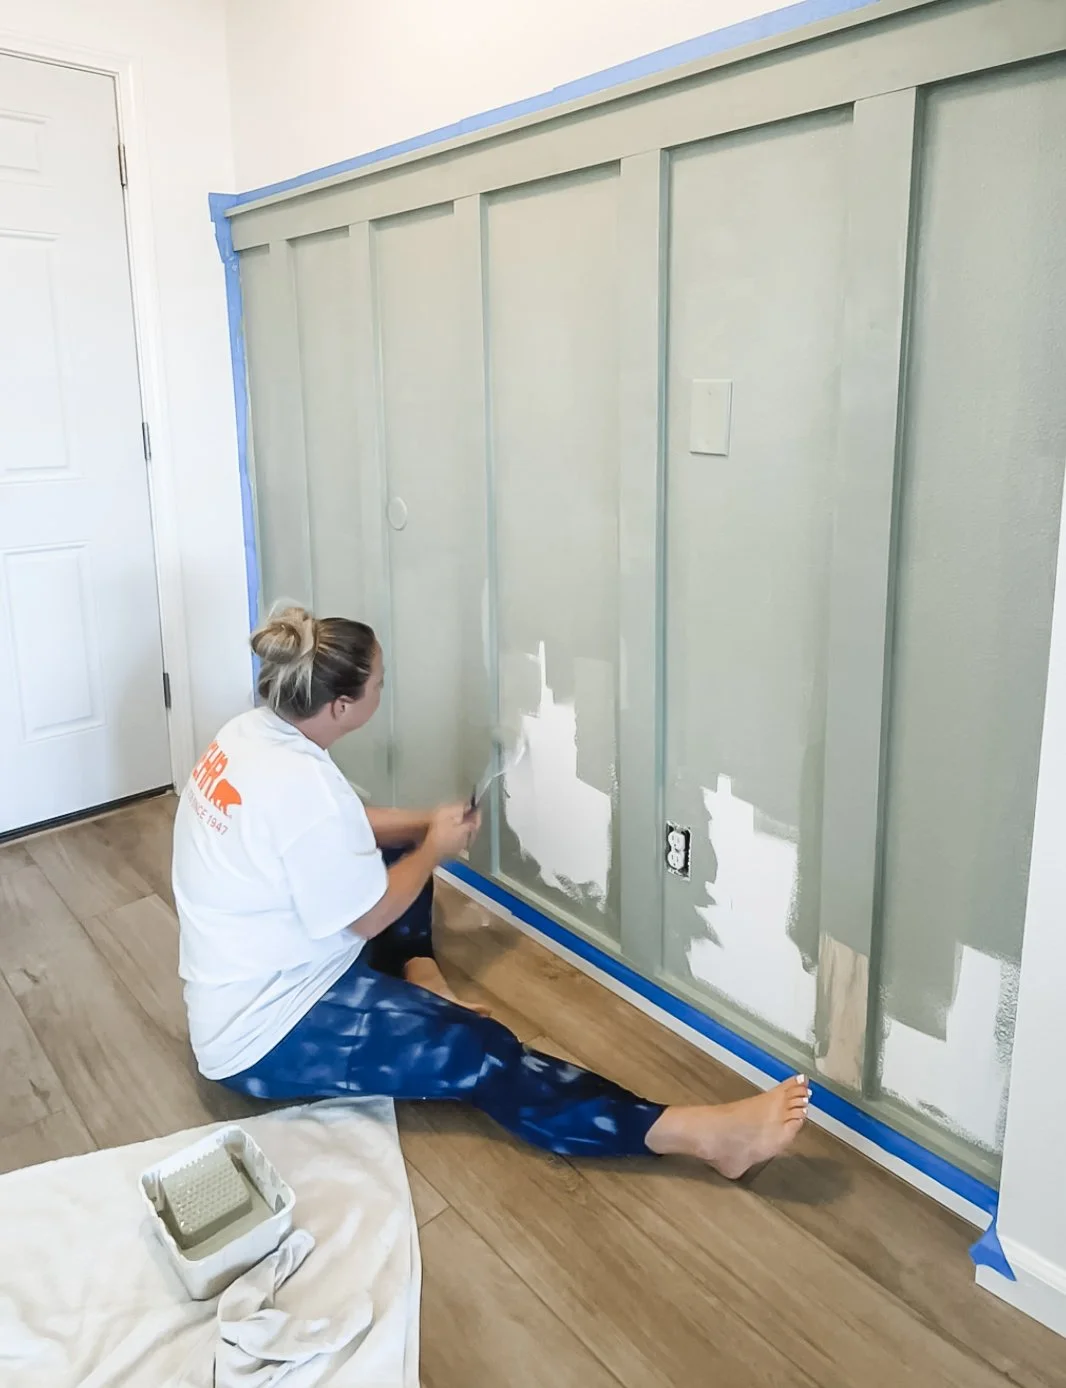
Step 6:
Tape off and paint! We used Bay Water by Behr in eggshell finish. Our space only took a quart, and we did two coats.